
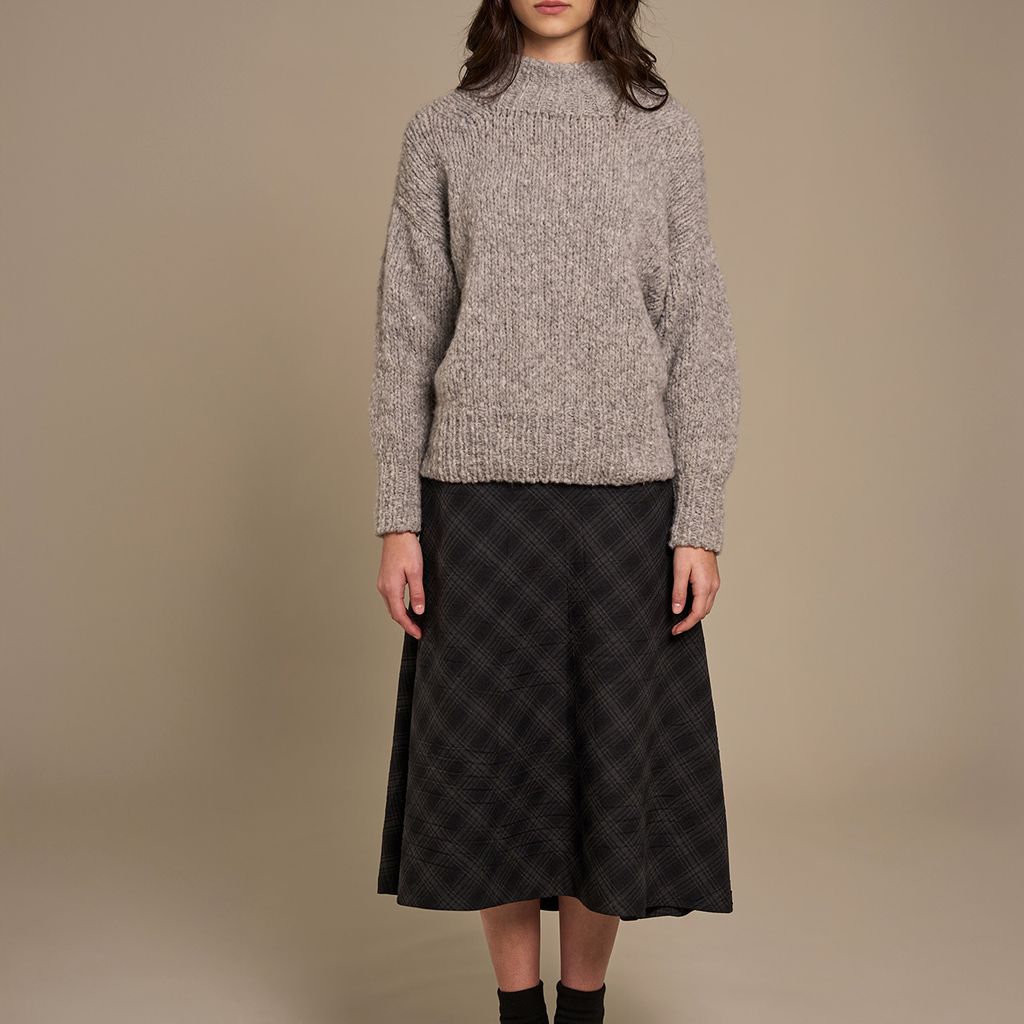
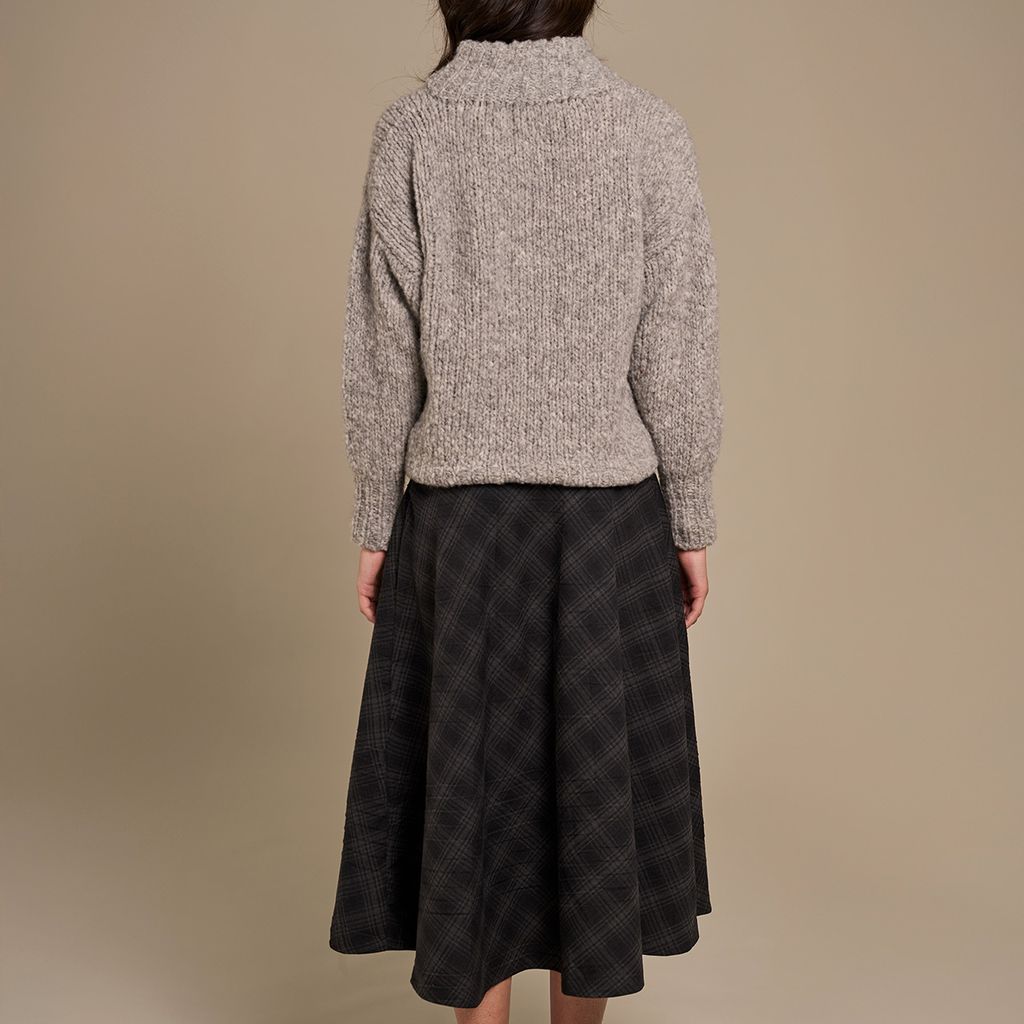
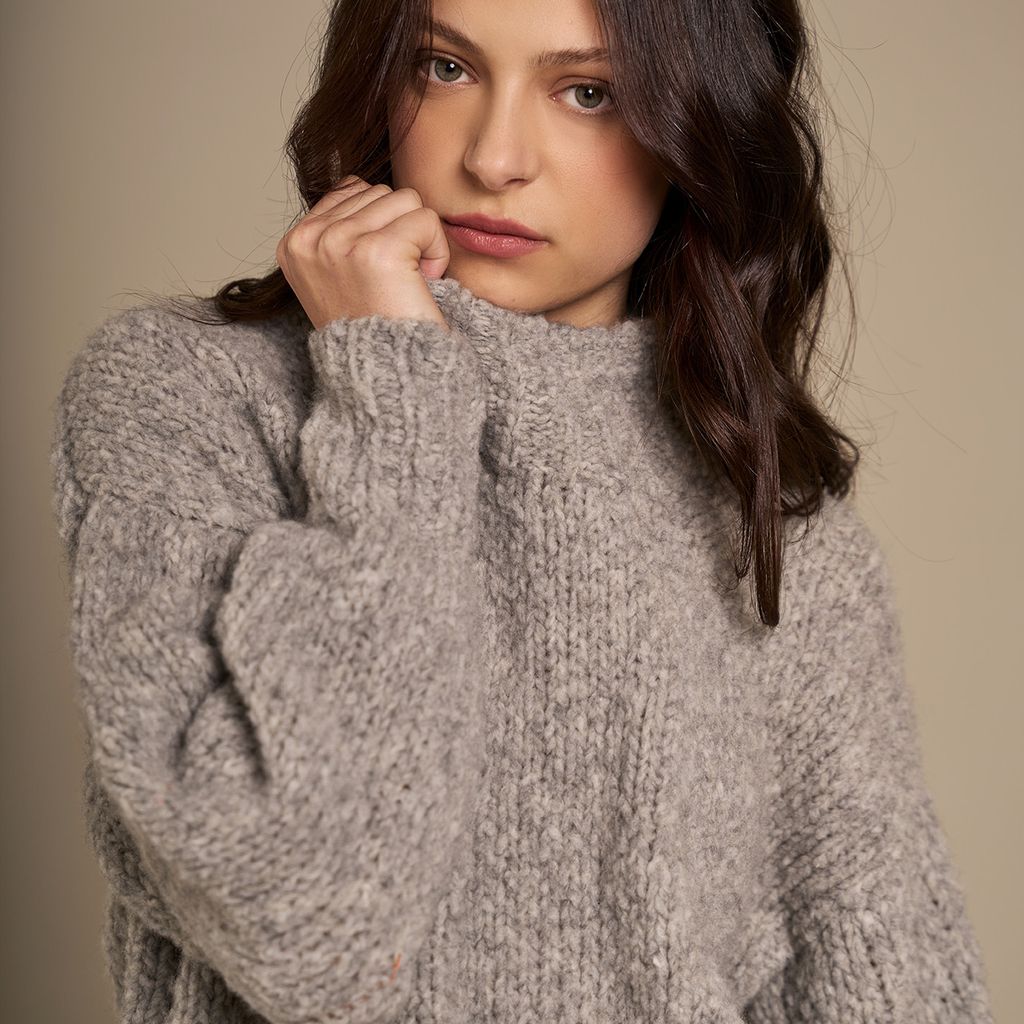
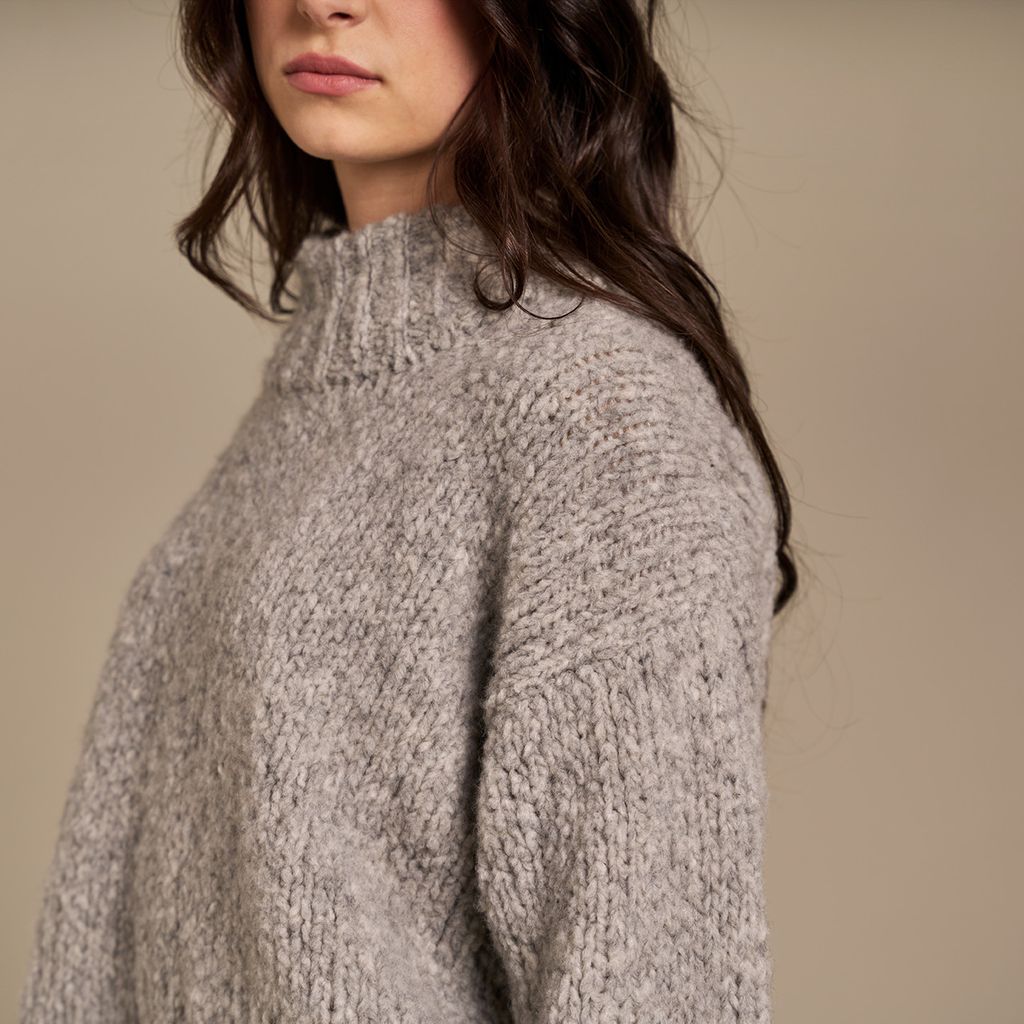
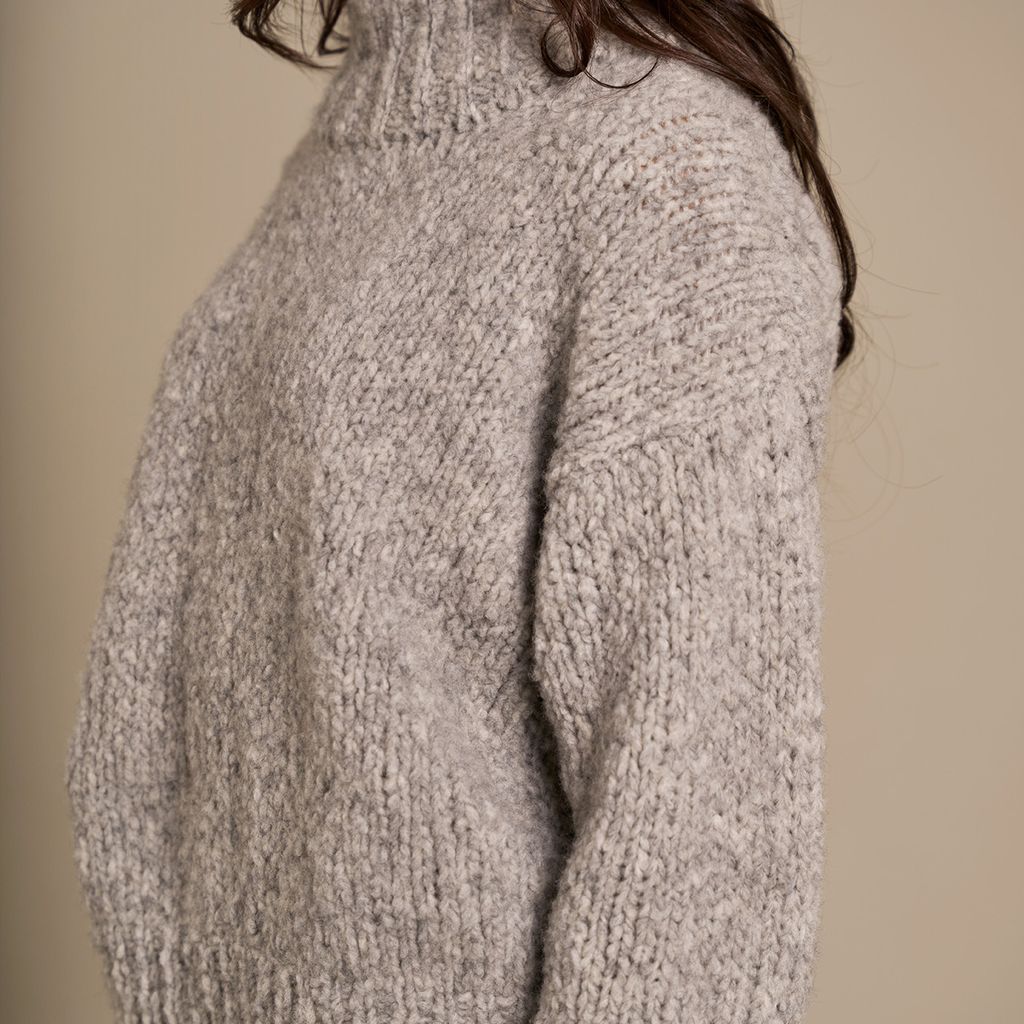
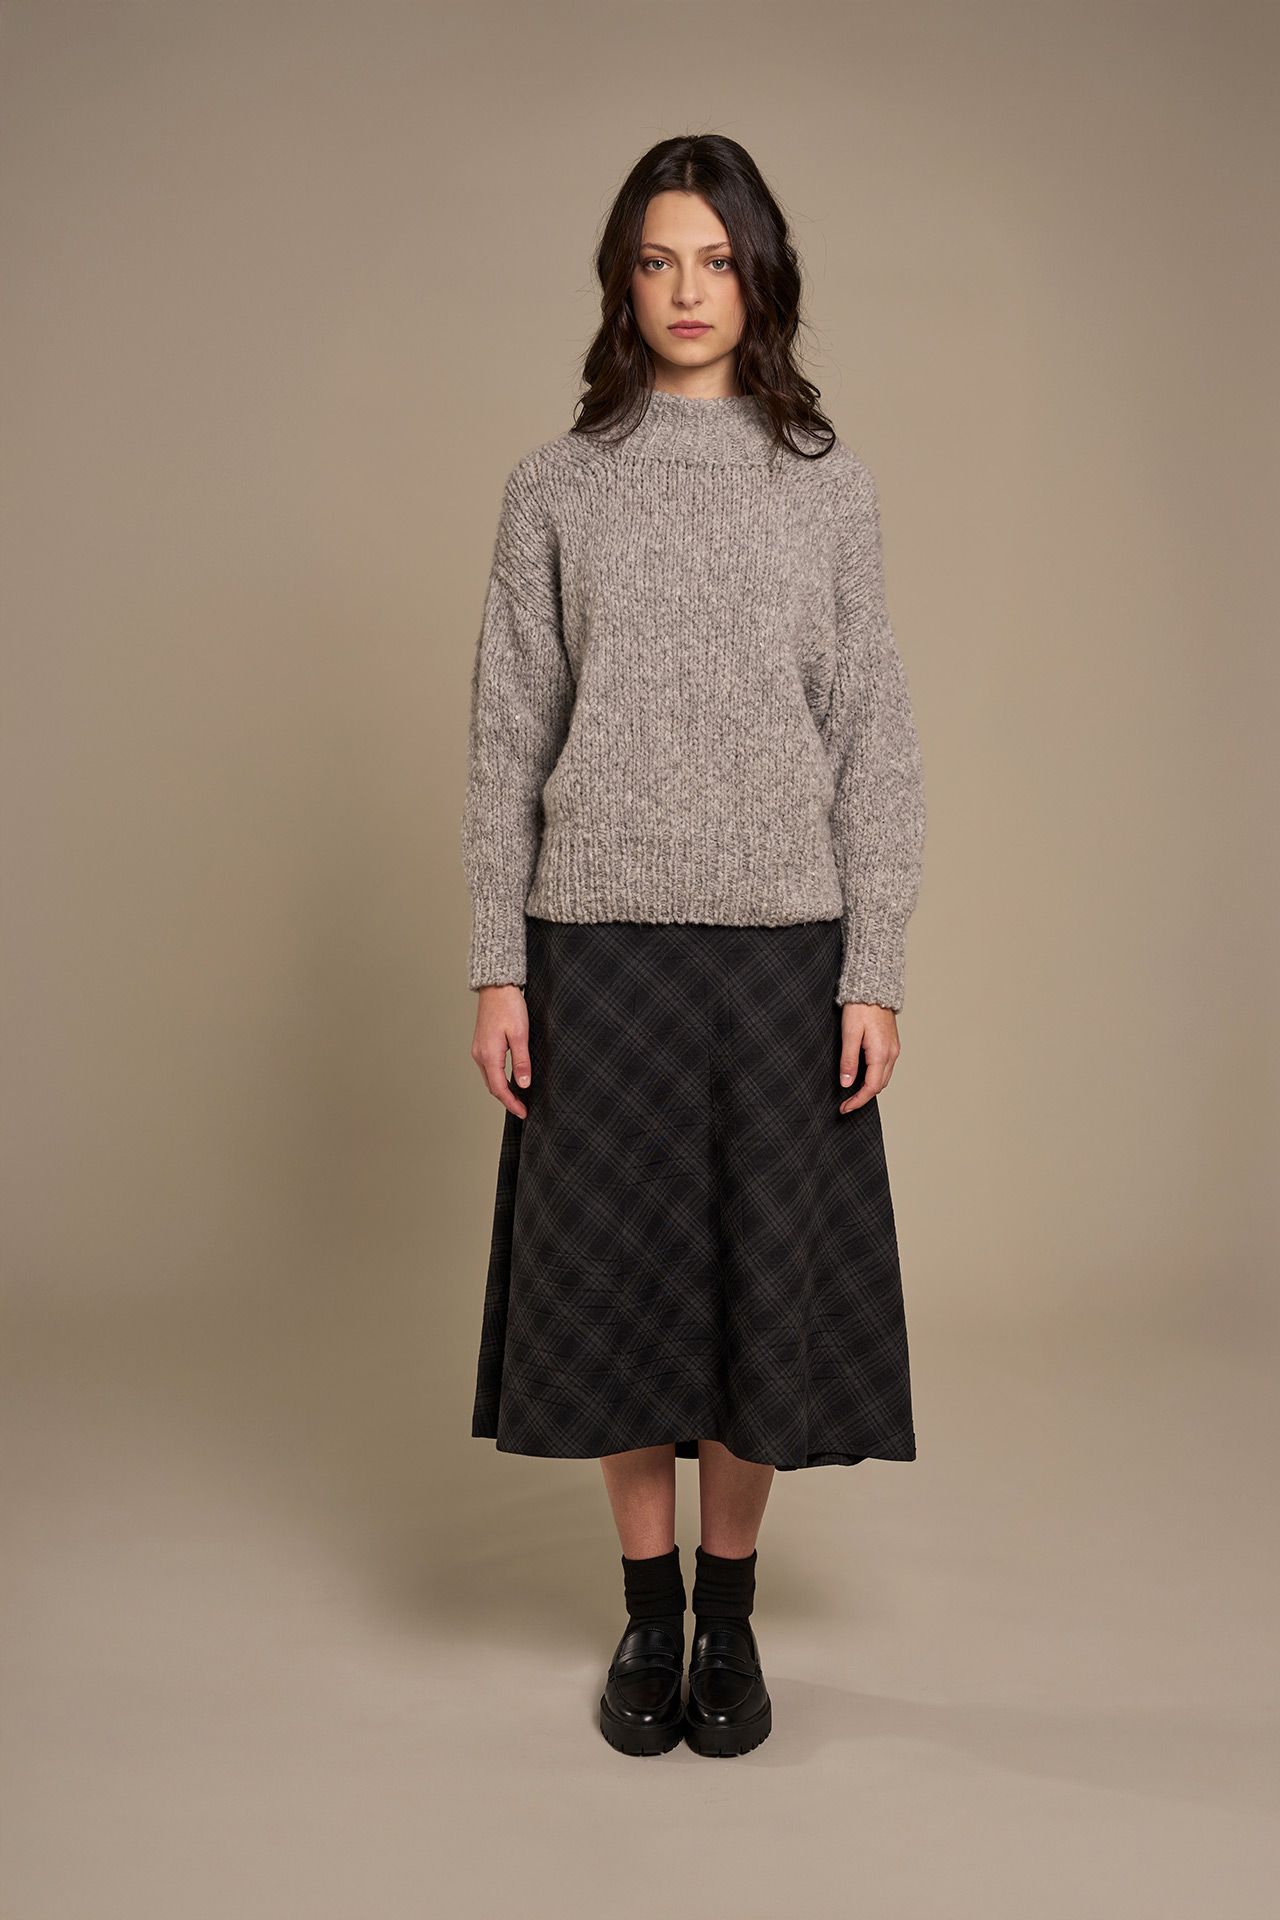
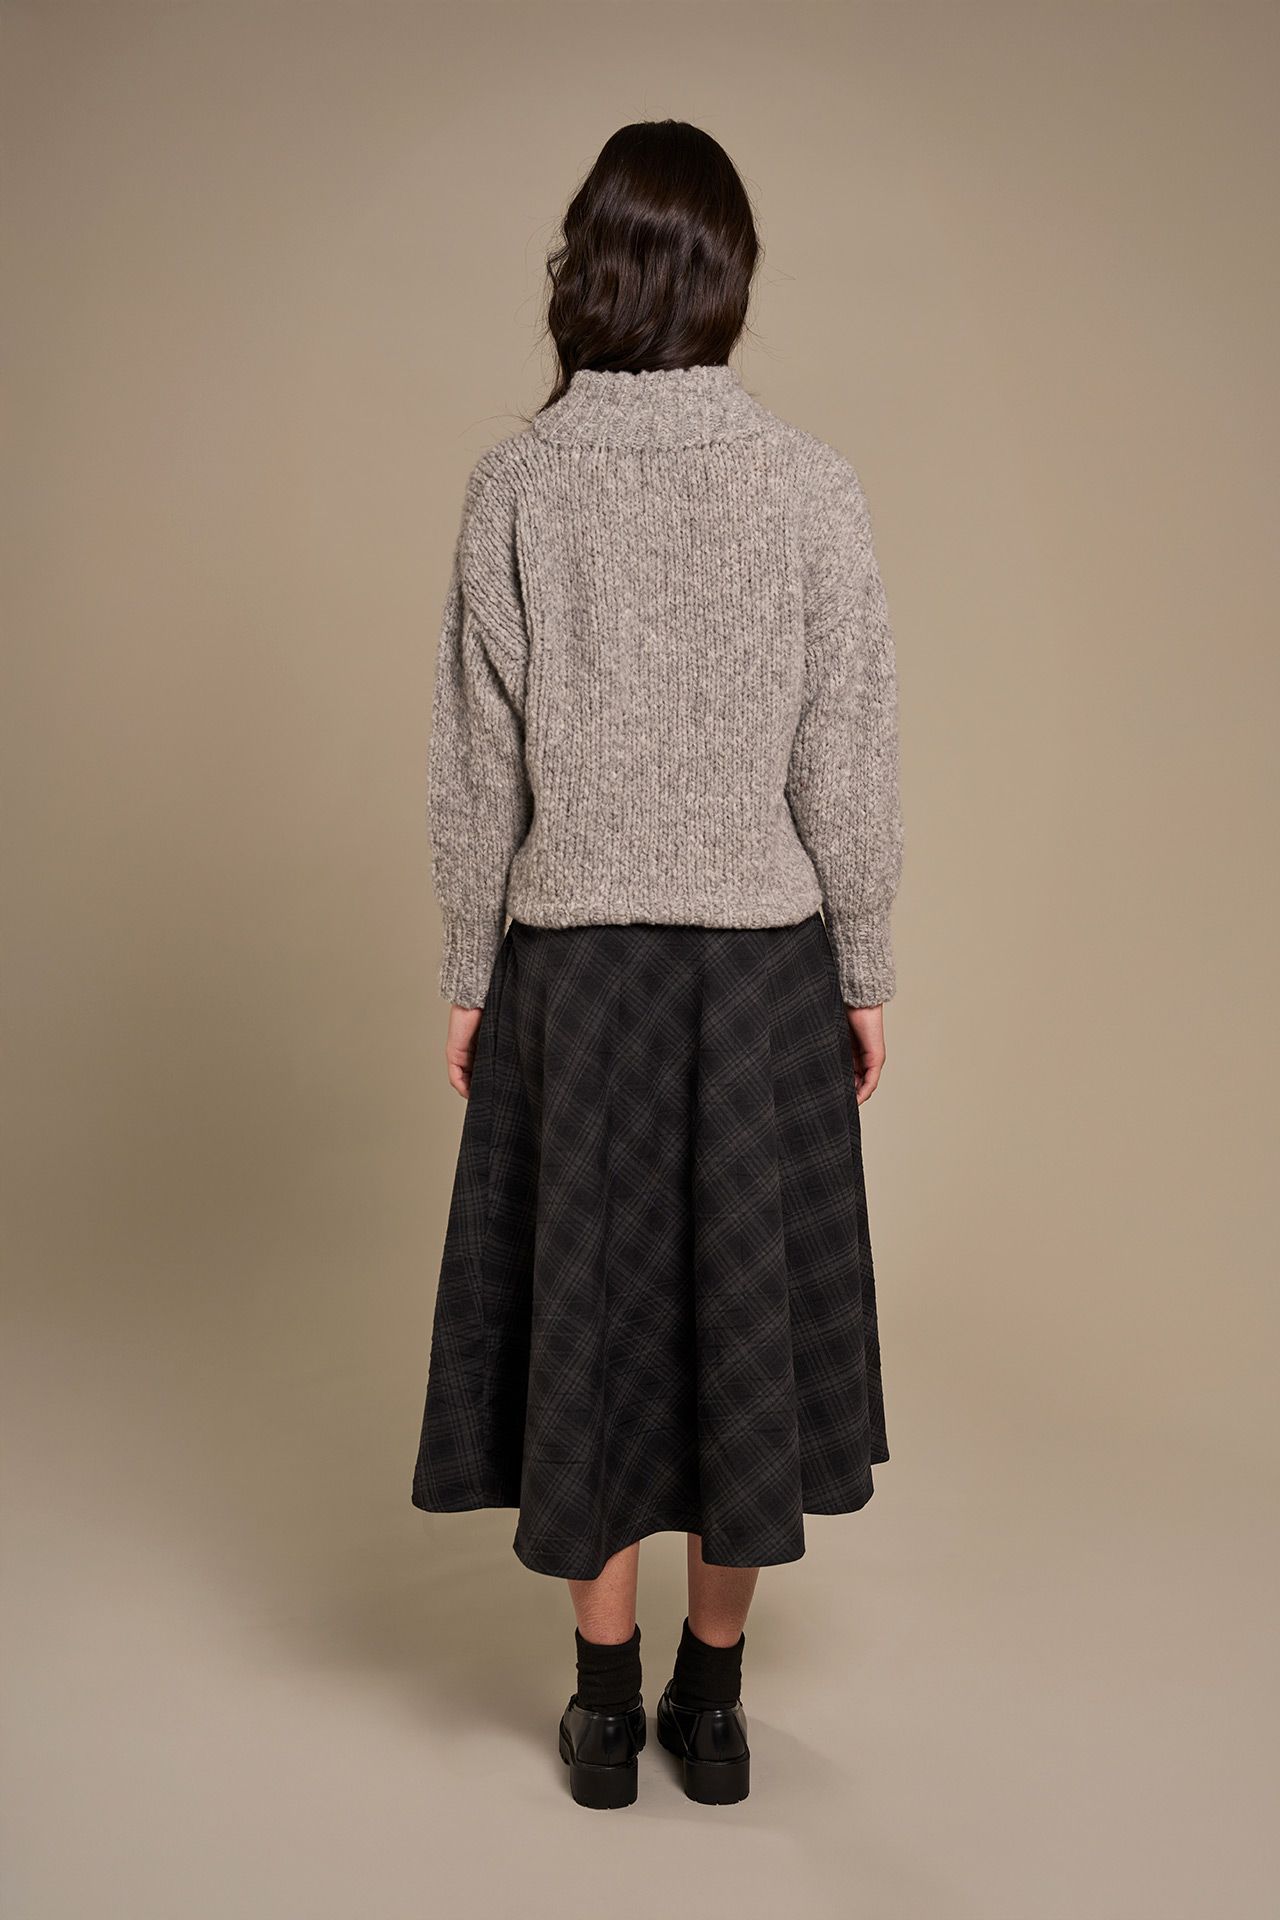
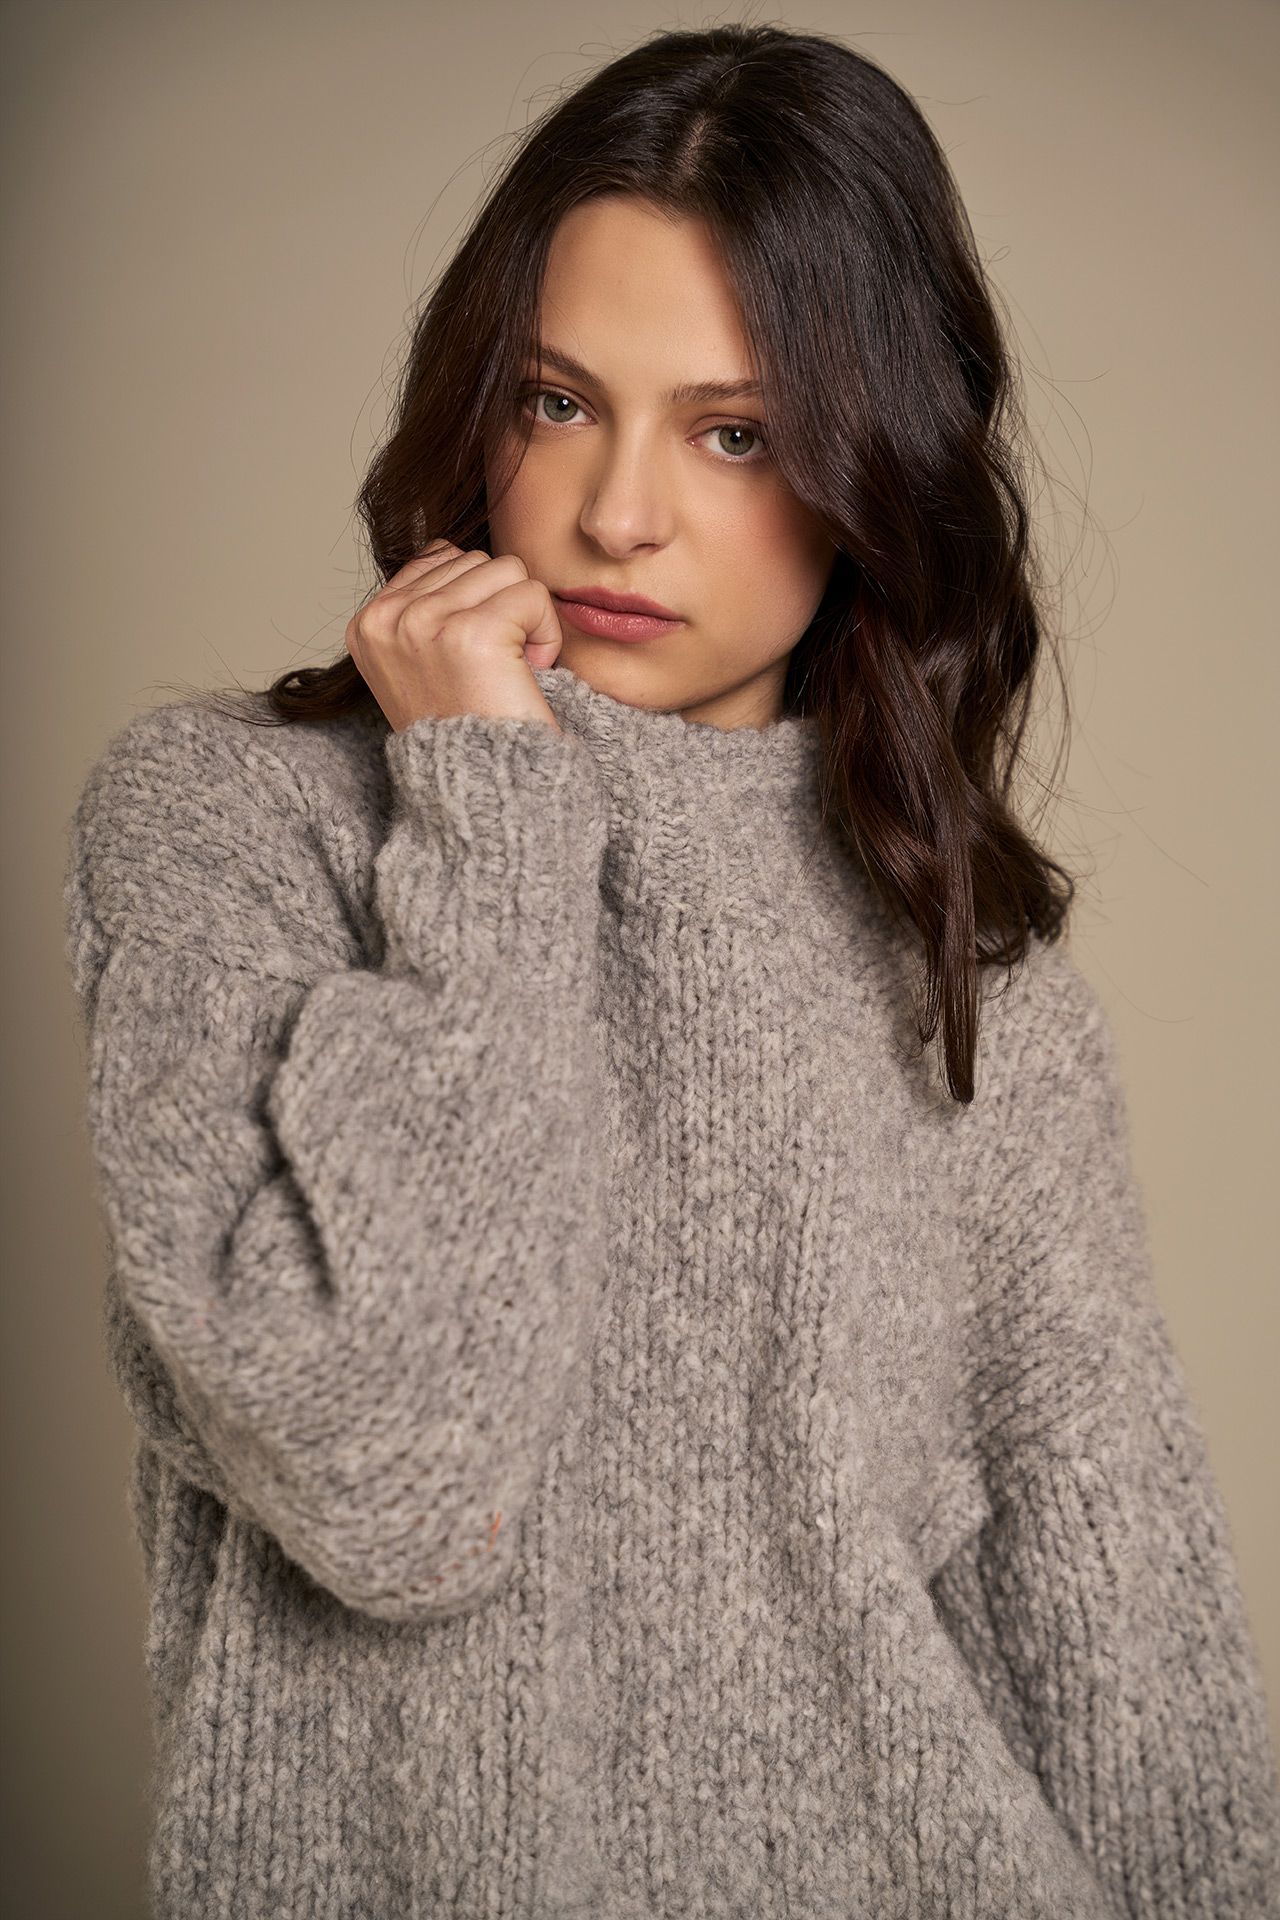
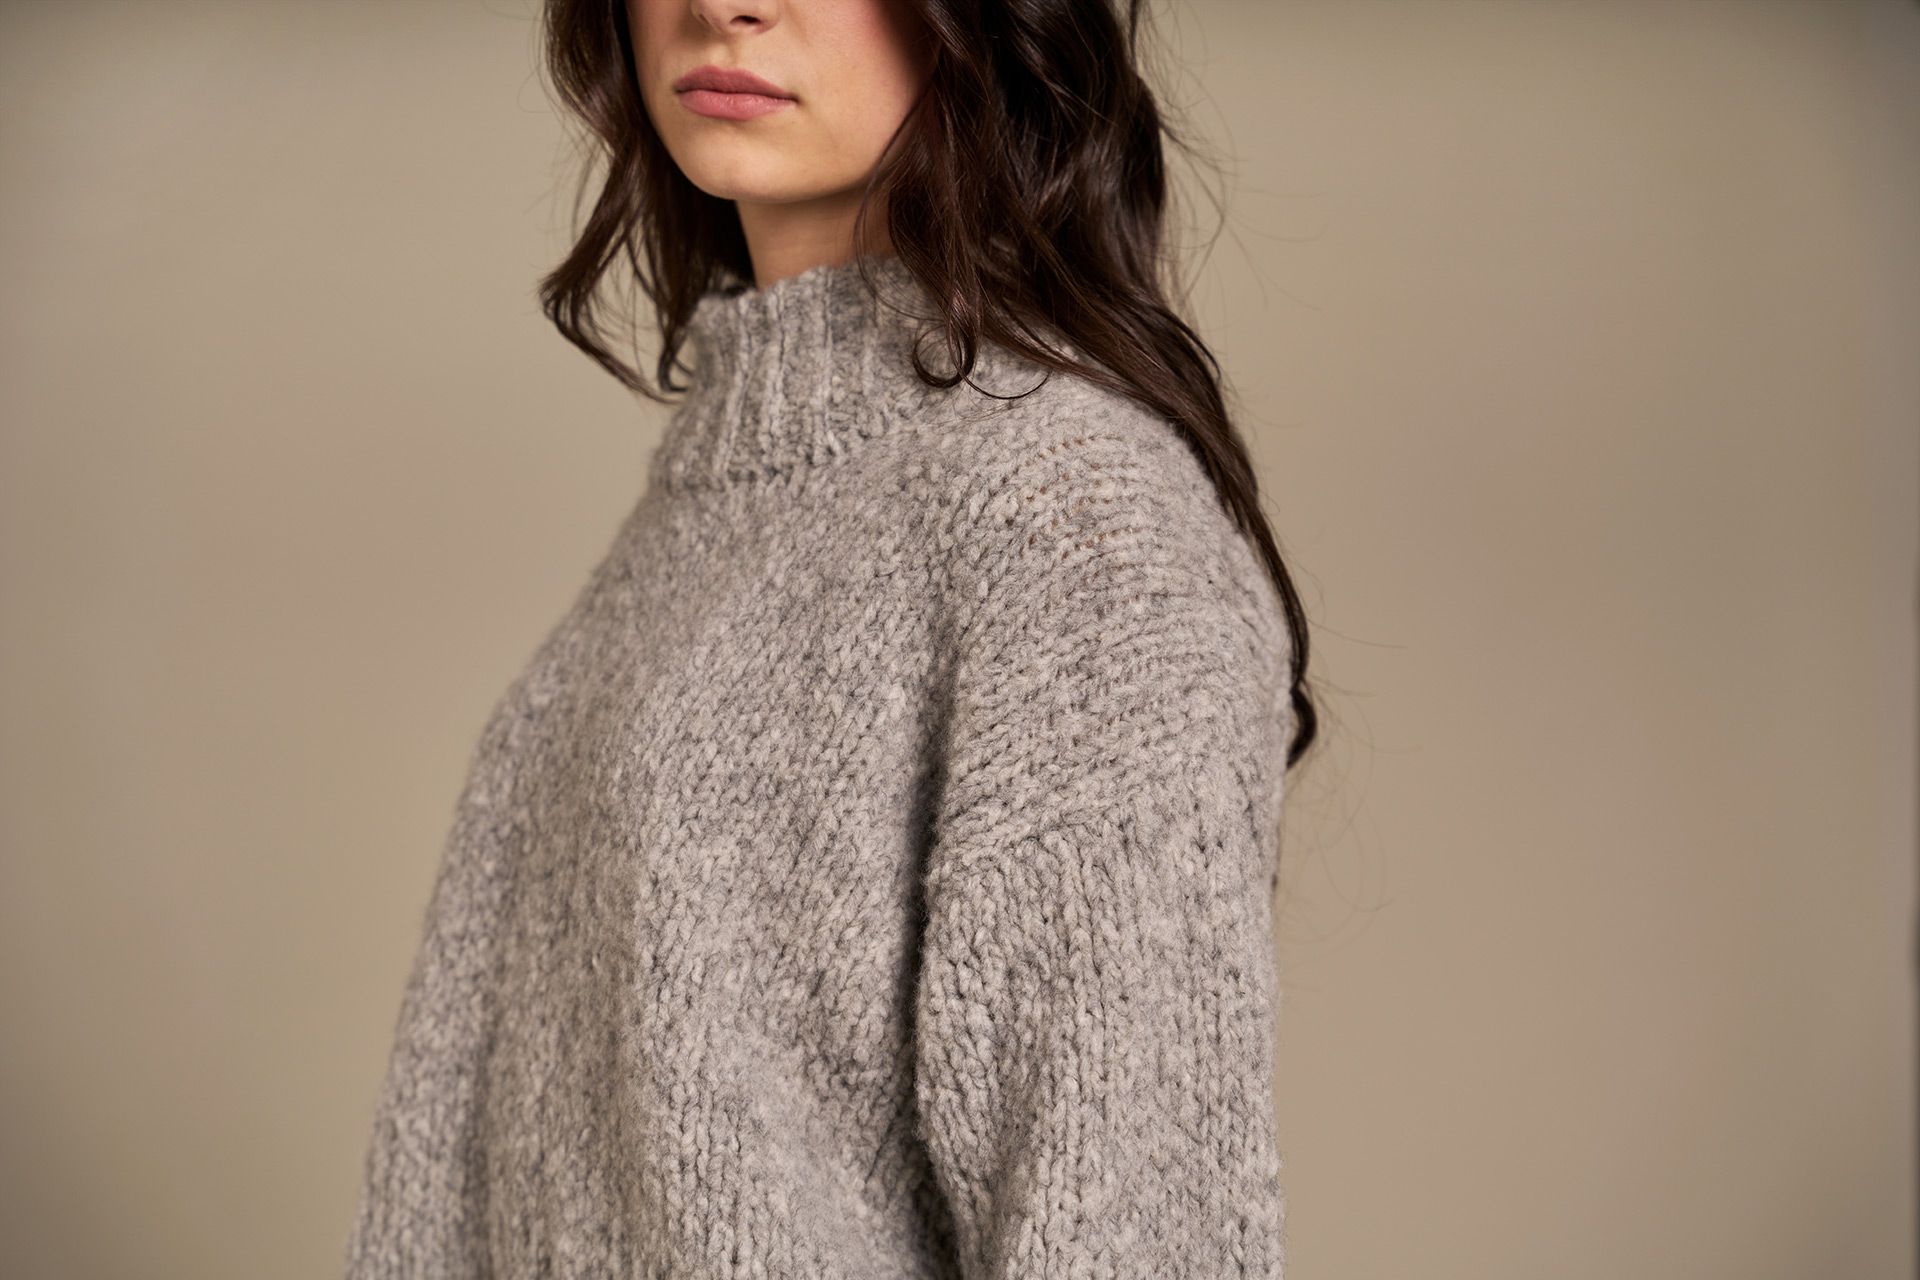
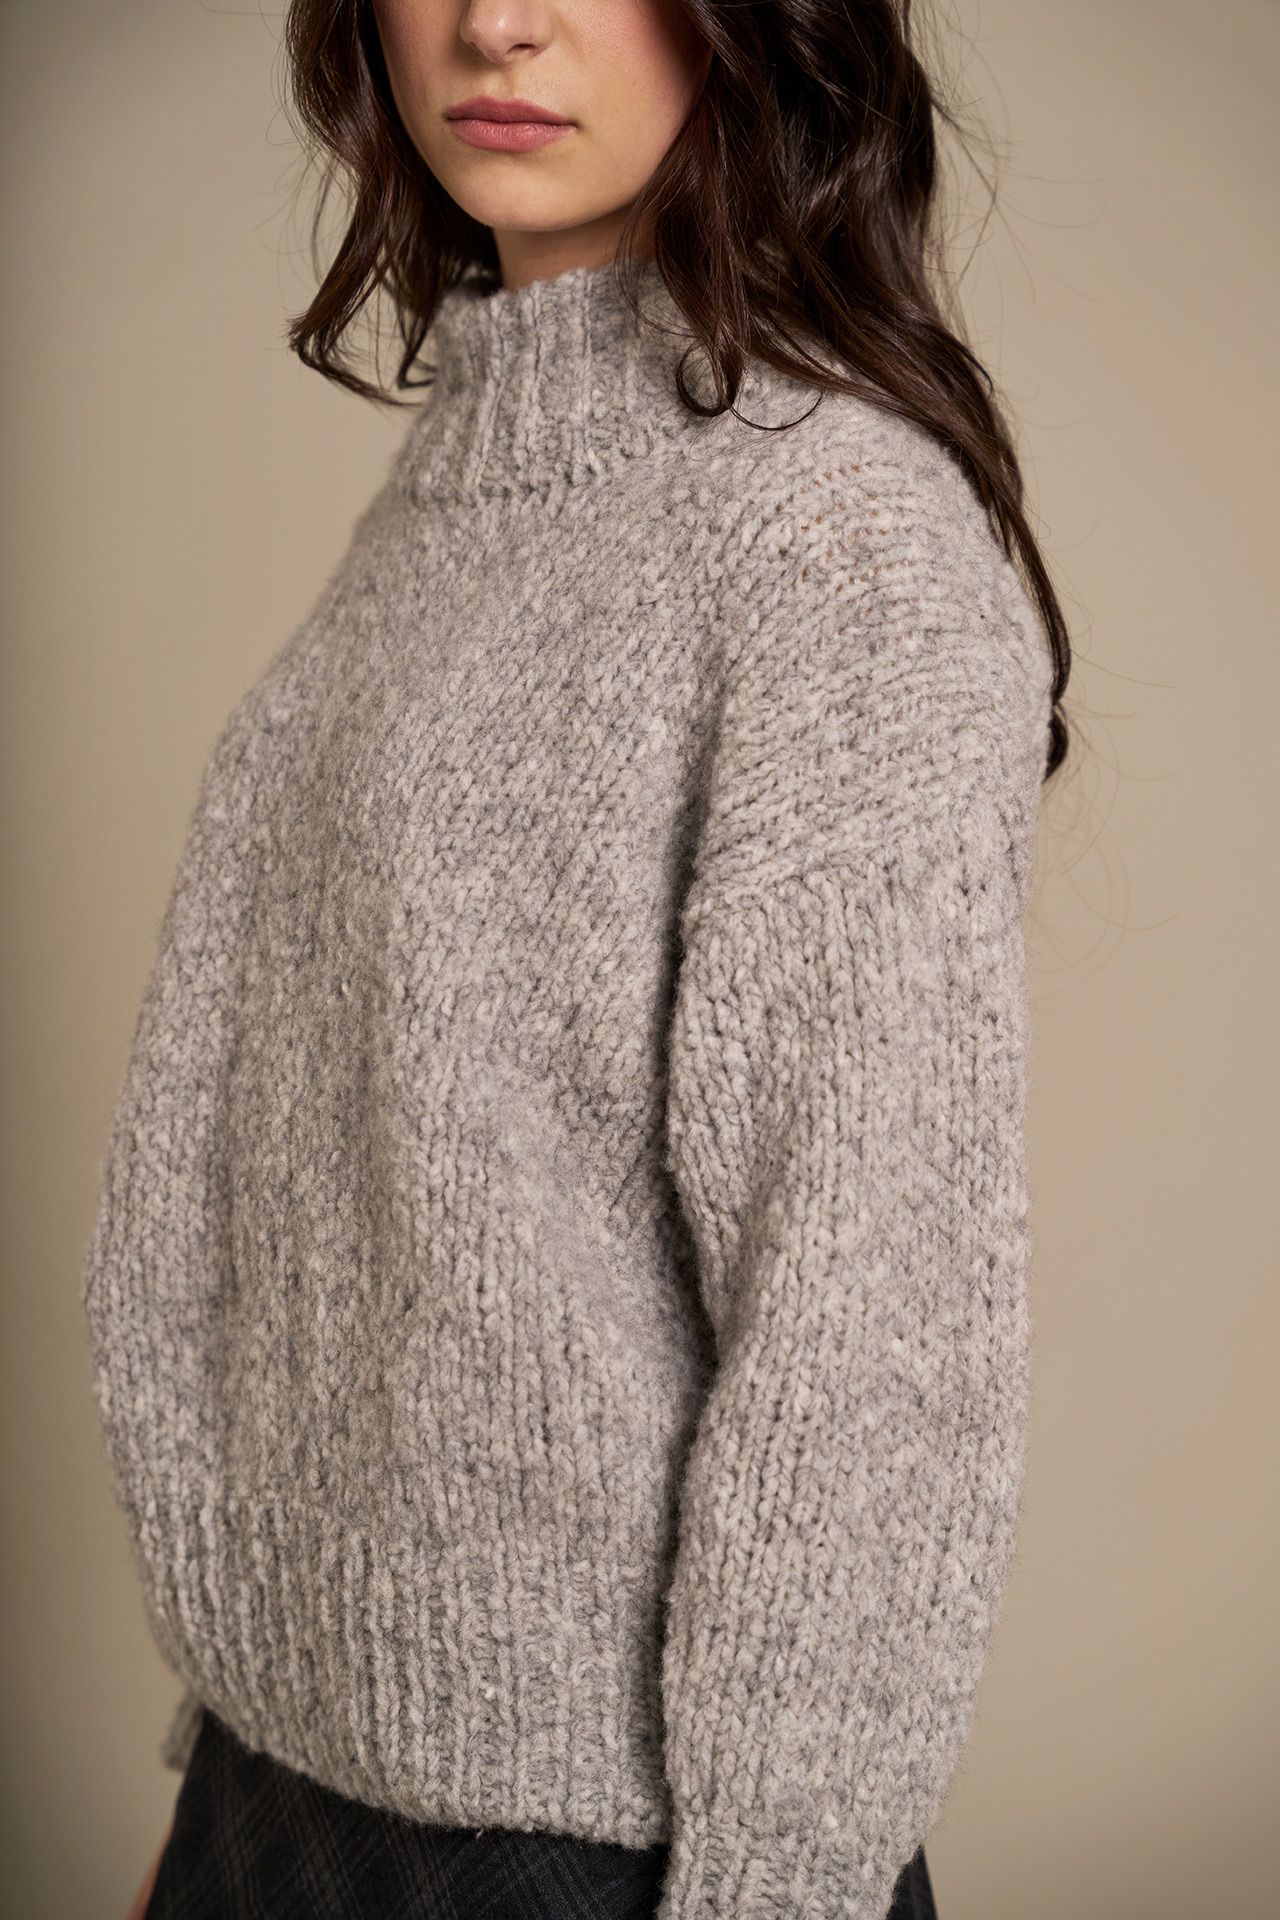
PIUMA CASHMERE SWEATER
DIFFICULTY = Intermediate
Yarn: PIUMA CASHMERE by Laines du Nord
Size S/M: 9 balls (25 g each), col grey
Circular needles: 4 mm, 5 mm and 7 mm tips, with 60 cm and 80 cm cables
Others: large-eye darning needle, stitch markers, scissors, measuring tape, stitch holders with stoppers, waste yarn (for provisional cast on at hem and sleeves).
TENSION
10 x 10 cm = 10 stitches and 16 rows, worked in stockinette stitch using 7 mm needles
It is very important to check your gauge and measure the tension correctly to achieve the same results and measurements as the pattern.
If the gauge is different, try adjusting the needle size up or down by half a size until you get the correct measurement.
STITCHES USED
1x1 Rib in the round
Round 1 and foll rounds (RS): (k1, p1) rep to end of round.
2x1 Rib in the round
Round 1 and foll rounds (RS): (p2, k1) rep to end of round.
Stockinette stitch in the round (RS): knit across all rounds.
Stockinette stitch flat
R 1 (RS): knit all sts.
R 2 (WS): purl all sts.
Rep r 1 and 2 until desired length.
Joining in the round: slip the first st from the left needle to the right needle purl-wise, pass the last cast-on st over the slipped st and off the
needle, pull the yarn tail to tighten the st, place a BOR marker to indicate the beginning of the round and move it up at the end of each foll
round.
ABBREVIATIONS
RS = right side of the work
WS = wrong side of the work
BOR = beginning of round marker
col = color(s)
st(s) = stitch(es)
r = row(s)
k = knit
p = purl
decr = decrease(s)
incr = increase(s)
skp = slip 1, knit 1, pass slipped st over (slip 1 st knit-wise, k1, pass slipped st over).
M1 = make one (lift the strand between the last stitch worked and the next stitch from front to back with the left needle and knit it through the
back loop).
k2tog = knit 2 stitches together (insert the right needle through the next 2 sts on the left needle and knit them together).
p2tog = purl 2 stitches together (insert the right needle through the next 2 sts on the left needle and purl them together).
FINISHED MEASUREMENTS
Size shown in the picture: S/M
Bust circumference: 110 cm
Upper sleeve circumference: 40 cm
Sleeve length from underarm to cuff: 44 cm
Body length from underarm: 36 cm
Total length: 60 cm
Procedure
DETAILED PATTERN INSTRUCTIONS
BODY (FRONT AND BACK IN THE ROUND)
Using 7 mm needle tips with the 80 cm cable and waste yarn, cast on 116 sts. Switch to Piuma yarn, place a BOR marker and join in the
round, being careful not to twist the sts. Work 4 r in tubular stitch, then continue in 1x1 rib in the round for 13 cm.
Switch to stockinette stitch in the round and work for 27 cm. At this point, divide the work to shape the armholes and continue working the front
and back separately. Carefully remove the waste yarn from the cast-on edge at the hem.
UPPER FRONT
Work across the first 58 sts in stockinette stitch flat; leave the remaining 58 sts on hold on a stitch holder. When armhole measures 13 cm,
begin shaping the neckline: bind off the center 14 sts and continue each side separately, decreasing 1 st every 2 r, 4 times as follows:
Left Neck
Purl the WS r over the 22 sts on the left side of the neckline, then begin shaping:
R 1 with decr (RS): k12, k2tog, k4. [21 sts]
R 2 and all even r (WS): purl all sts.
R 3 with decr (RS): k11, k2tog, k4. [20 sts]
R 5 with decr (RS): k10, k2tog, k4. [19 sts]
R 7 with decr (RS): k9, k2tog, k4. [18 sts]
Work over the remaining 18 sts for 7 cm more. When total length reaches 60 cm, bind off all sts loosely for the shoulder.
Right Neck
Purl the WS r over the 22 sts on the right side of the neckline, then begin shaping:
R 1 with decr (RS): k4, skp, k12. [21 sts]
R 2 and all even r (WS): purl all sts.
R 3 with decr (RS): k4, skp, k11. [20 sts]
R 5 with decr (RS): k4, skp, k10. [19 sts]
R 7 with decr (RS): k4, skp, k9. [18 sts]
Work over the remaining 18 sts for 7 cm more. When total length reaches 60 cm, bind off all sts loosely for the shoulder.
UPPER BACK
Place the 58 back sts on circular needles and work in stockinette stitch for 22 cm. Then begin shaping the neckline: bind off the center 18 sts
and continue working each side separately. On each side of the neckline, decrease 1 st every 2 r (RS) twice (use skp for left-leaning decr and
k2tog for right-leaning decr). When the total length reaches 60 cm, bind off the remaining 18 sts for each shoulder.
SLEEVES
Using 7 mm needle tips with a 60 cm cable and waste yarn, cast on 24 sts. Switch to Piuma yarn, place a BOR marker and join in the round,
making sure not to twist the sts. Work 4 r in tubular stitch, then continue in 1x1 rib for 13 cm.
Switch to stockinette stitch and increase 10 sts evenly across the first r (1 incr every 3 sts). Then, increase 1 st on each side of the BOR
marker every 6 rounds, 7 times. After working 30 cm from the ribbed cuff, continue for 8 more rounds (or until sleeve measures 44 cm from the
ribbed cuff) over the 48 sts total. At the end, bind off all sts loosely. Carefully remove the waste yarn from the cuff edge.
Work the second sleeve as given for the first one.
ASSEMBLY AND FINISHING
On the WS, sew the shoulder seams.
Neckband: using Piuma yarn, 5 mm needle tips and a 60 cm cable, pick up 75 sts around the front and back neckline, place a BOR marker
and join in the round.
Rounds 1 to 10: work in 2x1 rib.
Round 11: (p2 over the 2 purl sts, k1 on the knit st) rep to end of round.
Rounds 12 to 14: continue in 1x1 rib (k the knit sts, p the purl sts).
Switch to 4 mm needle tips
Rounds 15 to 30: work in 1x1 rib.
Switch to 5 mm needle tips.
Rounds 31 to 33: work in 1x1 rib.
Round 34: (p1, M1, k1) rep to end of round.
Rounds 35 to 45: work in 2x1 rib.
At the end, bind off all sts loosely.
Fold the neckband to the inside and sew the final round to the base of the first round using small, loose stitches.
Using pins, position the upper edge of the sleeve around the armhole, aligning the center st of the sleeve with the shoulder seam. Sew the
sleeve in position on the WS. Repeat for the second sleeve. Weave in all ends. Wet and block.
INSTRUCTIONS
This sweater is worked in the round from the bottom up to the armholes. The upper front and back are then worked separately in back-and
forth rows. Sleeves are worked in the round and joined at the armholes after sewing the shoulder seams. When working in the round, place a BOR marker at the beginning of round 1 and slip it before starting each new round.