


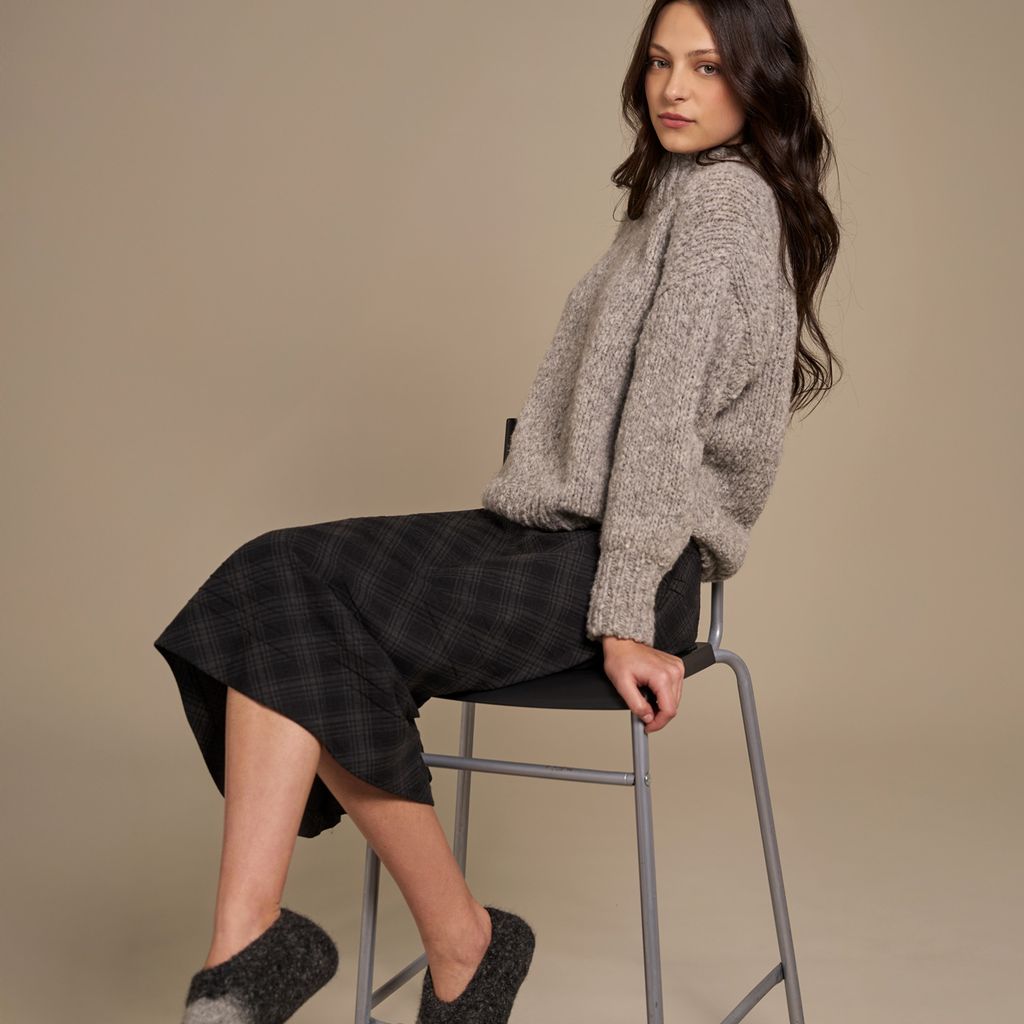
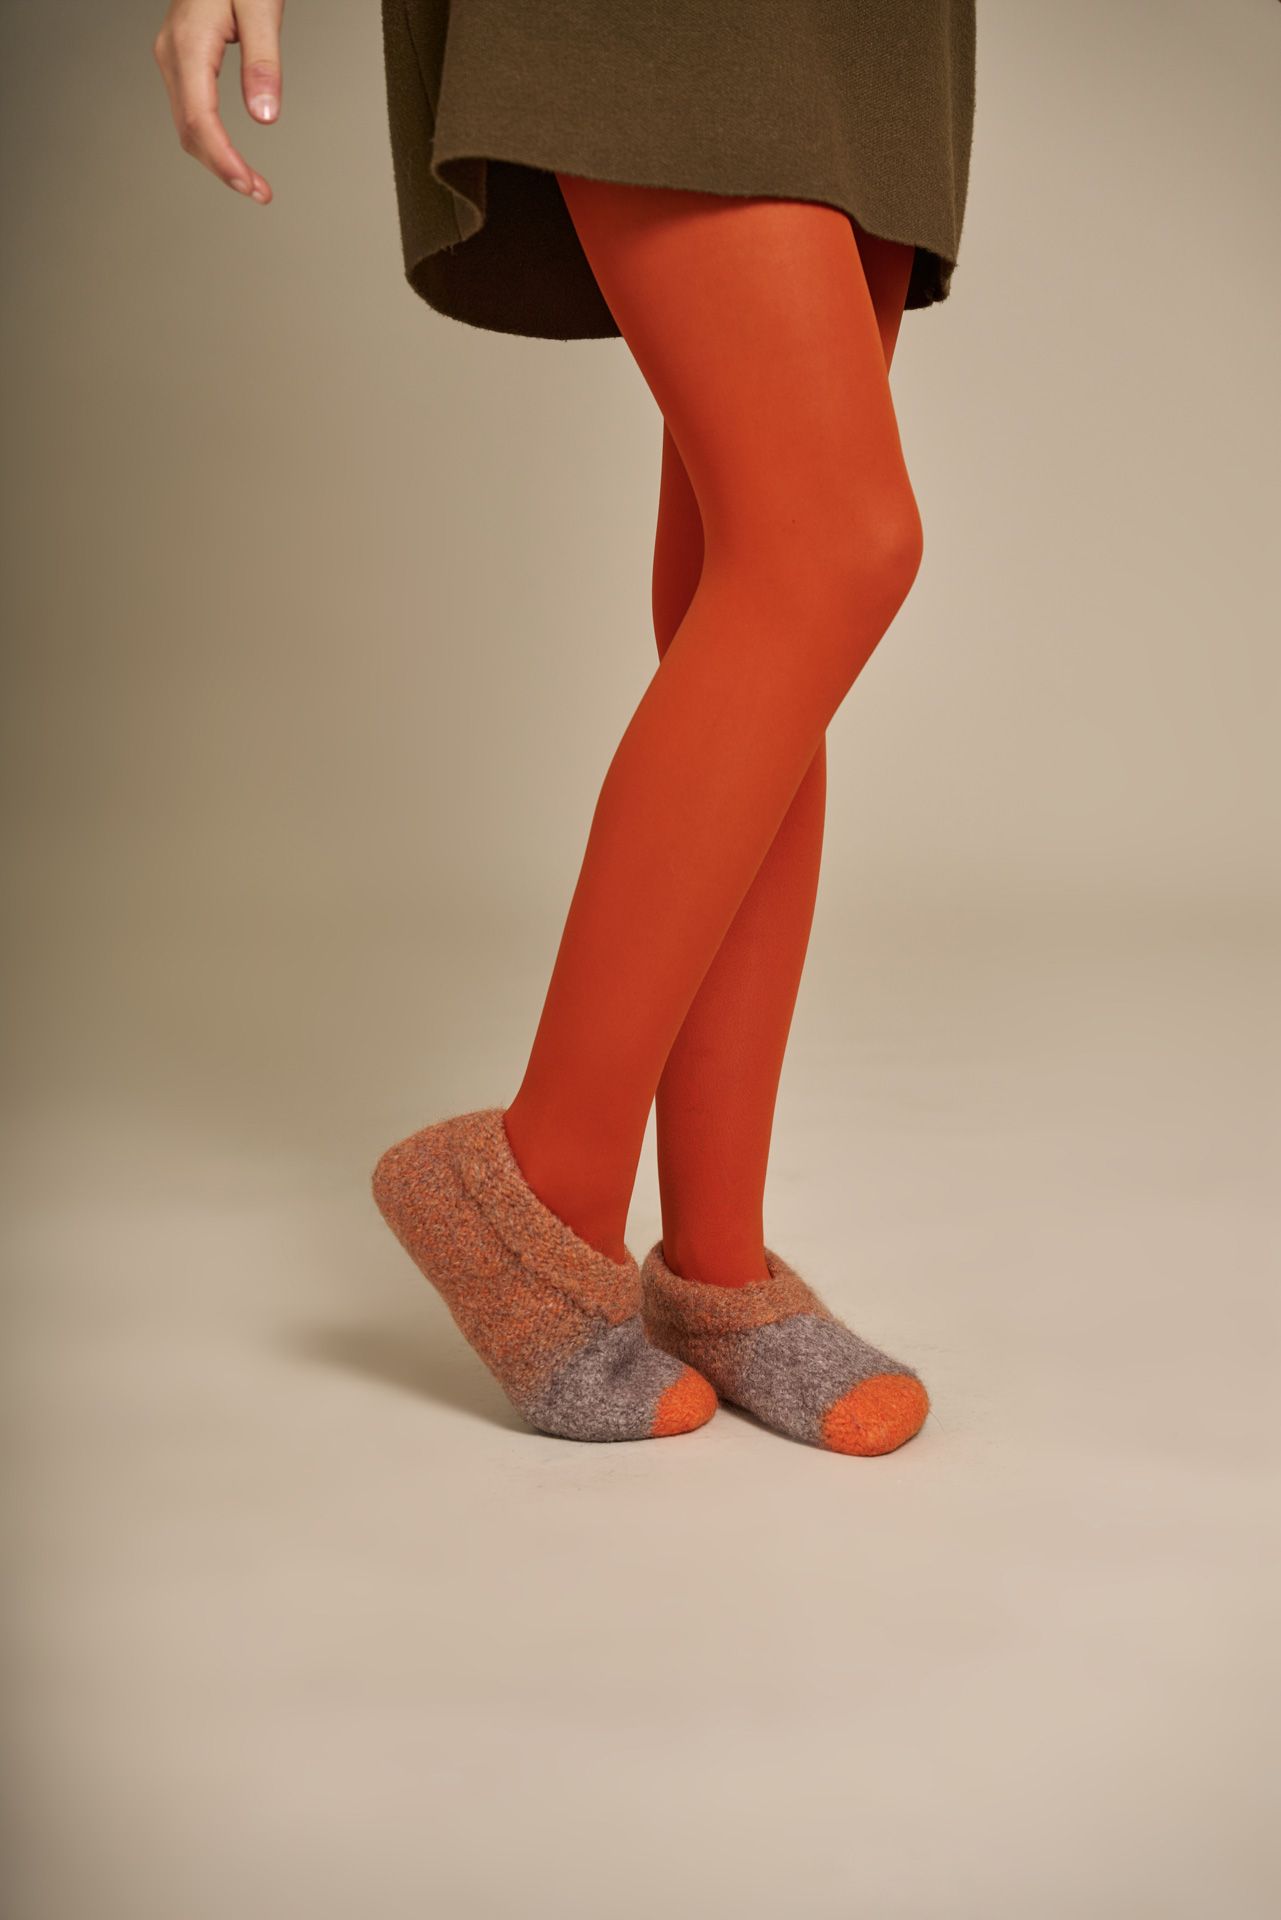
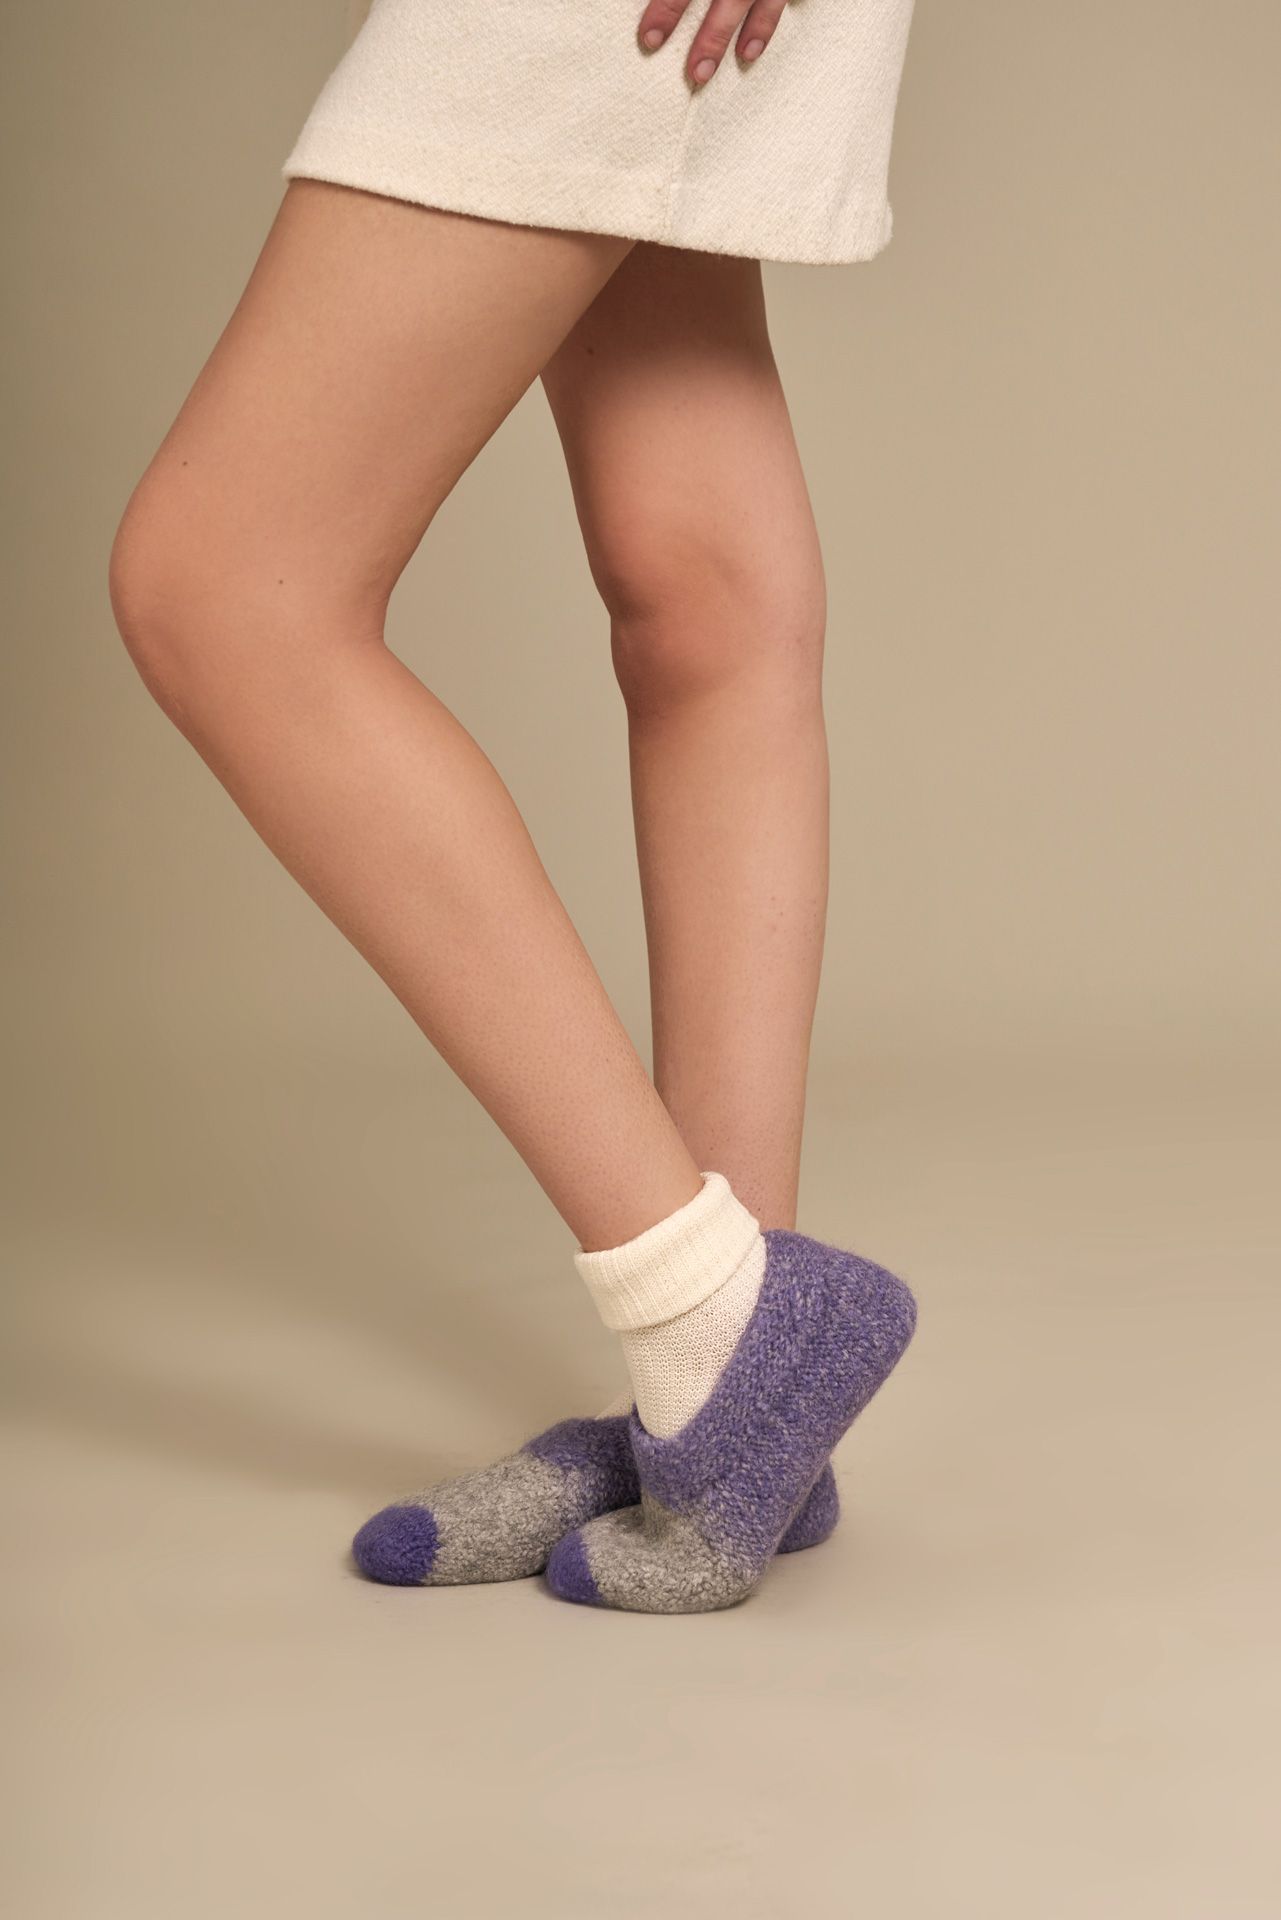
NEW SLIPPERS
Yarn: SLIPPERS by Laines du Nord, 1 ball for one pair of slippers.
Circular needles: 6 mm tips with a 60 cm cable.
Other: stitch markers in a contrasting colour, darning needle, scissors, tape measure.
TENSION
10 x 10 cm = 14 sts 15 r in stockinette stitch using 6 mm needles.
It is very important to check your gauge and measure your tension accurately to match the results and measurements in the pattern.
If your gauge is off, adjust your needle size up or down by half a size until your tension is correct.
STICHES USED
Closed cast-on: follow the instructions provided for the first part of the slippers.
Stockinette stitch in the round (RS): knit all rounds.
Stockinette stitch flat: purl all rows on RS, knit all rows on WS.
Reverse stockinette stitch in the round (RS): purl all rounds.
ABBREVIATIONS
RS = right side of the work
WS = wrong side of the work
SM =stitch marker
b-SM = beginning-of-round stitch marker
r= row(s)
st(s) = stitch(es)
incr = increase(s)
col = colour
k = knit
ktbl = knit through the back loop (insert the right needle into the back loop of the next stitch on the left needle and knit)
decr = decrease/s
yo = yarn over (wrap yarn once around the right needle)
Bind off = across purl row: slip 1 stich purl-wise, purl the next stitch, pass the slipped stitch over the purled stitch, * k1, pass the 1st stitch over the 2nd stitch on the right needle *, rep ** until the required number of sts have been bound off.
Across knit row: slip 1 stitch knit-wise, knit the next stitch, pass the slipped stitch over the knitted one, * k1, pass the 1st stitch over the 2nd. Repeat as above until the required number of sts have been bound off.
rep ** = repeat from * to *
p = purl
p2tog (purl 2 stitches together) = with yarn in front, insert the right needle through the next 2 stitches on the left needle and purl them together.
SLIPPER MEASUREMENTS - before felting
Size 36/37: 36 cm
Size 38/39: 38 cm
Size 40/41: 40 cm
SLIPPER MEASUREMENTS - after felting
Size 36/37: 22-23 cm
Size 38/39: 24-25 cm
Size 40/41: 26-27 cm
Procedure
DETAILED PATTERN INSTRUCTIONS
FIRST PART (for all sizes)
Closed cast-on
Cast on 10/10 sts = 20 using the zigzag cast on method: begin by making a slipknot using the magic loop technique (this slipknot does not count as the first st; it is only used to facilitate casting on). Hold the 2 needle tips side by side and *wrap the yarn around the right needle from bottom to top, then around the left needle from top to bottom * rep ** until you have 10 sts on the left needle and 10 sts on the right needle. Place 1 b-SM and move it to the end of each round as you go.
Round 1: ktbl the first 10 sts on the left needle, slip the slipknot to the right needle without working it, then knit the remaining 10 sts.
Round 2: k10, remove the slipknot, k10.
Round 3: yo (1st incr), k1, place 1 SM in the st just worked, 1 yo (2nd incr), k8, yo (3rd incr), k1, place 1 SM in the st just worked, 1 yo (4th incr), k10 [24 sts]
Round 4: knit the yo through the back loop and knit the knit sts. Move the SM to the same st they were marking in the previous round.
Repeat rounds 3 and 4 until you have 36 sts, making sure to increase before and after each marked st.
Once you have 36 sts, remove the SM.
Continue in stockinette st in the round for 11 (13; 13) cm.
When you reach the required length for your size, slip the b-SM, k10, bind off the next 6 sts of the centre front, knit all remaining sts to the SM, remove the SM, work the next 10 sts, before the 6 sts that were bound off. You should now have 30 sts for all sizes.
SECOND PART
Continue in reverse stockinette stitch worked flat.
Row 1 (WS): turn your work to the WS, slip the 1st st k-wise, knit all remaining sts.
Row 2 (RS): slip the 1st st p-wise, purl all remaining sts.
Repeat rows 1 and 2 until your work measures 22 (24; 24) cm from the beginning (measuring from the tip of the toe).
Once you have reached the required length for your size and ended with a WS row, decrease 2 sts as follows (instructions apply to all sizes):
Forth rows with decreases (RS): p10, p2tog, p6, p2tog, p10. [= 2 decr and 28 sts total]
Back rows (WS): knit until the end of the row.
Rep these 2 r once more, decreasing in the same positions as before. [= 2 decr and 26 sts total]
Continue in reverse stockinette st until reaching 36 (38; 40) cm, ending with a WS row.
Do not cut the yarn; continue with bind-off and heel shaping.
HEEL
For all sizes
Row 1 (RS): p10 and leave them on the needle, bind off 6 sts and p10.
Continue working only over the 10 sts just purled.
* Rows 2-4 (WS): k10.
Rows 3-5 (RS): p10.
Row 6: bind off all 10 sts. Cut the yarn *
Rep ** for the 10 sts left on hold.
With WS facing and using a darning needle, sew vertically the 10 right-side sts to the 10 left-side sts. Then sew horizontally the 6 rows to the 6 bound-off sts at the centre of the heel.
THIRD PART (BAND)
Starting at the centre front on the RS, pick up 52 (56-60) sts evenly around the slipper opening. Place a b-SM and continue in reverse stockinette st in the round as follows:
Round 1: purl all sts.
Round 2: p3, p2tog, p12 (14;16), p2tog, p16 (18-20), p2tog, p12 (14;16), p2tog, p3. [4 decr total]
Round 3: purl all sts.
Round 4: purl, decr 4 sts in the same positions as round 2.
Rounds 5 to 7: purl all sts.
Round 8: bind off all sts loosely.
Weave in all ends on the WS.
Work the second slipper as given for the first one.
FINISHING
Felt the slippers.
INSTRUCTIONS
In the pattern, you may find indications such as 10 (11- 12) sts o cm. This means the number before the parentheses refers to size 36/37, and
the numbers within the parentheses correspond to sizes 38/39 and 40/41, respectively.
To achieve the same result and colour as shown in the photos, cast on using the yarn from the outside of the ball. Once you have finished the
first slipper, begin the second one using the same starting colour as the first. To do this, either discard the excess yarn or use up half of the
ball, depending on the size you are making.
The first part of each slipper is worked in the round using the magic loop technique. The second part is worked flat, back and forth (right side
and wrong side). The third or upper section of the slipper is again worked in the round.
Before felting, the slippers will be approximately 30% larger than the final size. To felt them, wrap the slippers in a towel and run them through the washing machine on a 40°C cotton cycle (do not use delicate cycles or detergents meant for delicate fabrics).
After washing, it is important to shape the slippers while still damp using the following method: with your hands, pull each slipper lengthwise and, if needed, also widthwise, until it reaches the centimetres of the chosen size. At the end of the wash, the slippers may appear very shrunken, this is normal. If they have not felted properly, the wash program may not have been correct, and you will need to repeat the felting process as described above. For regular cleaning, use only detergents suitable for delicate fibres, such as wool wash.
